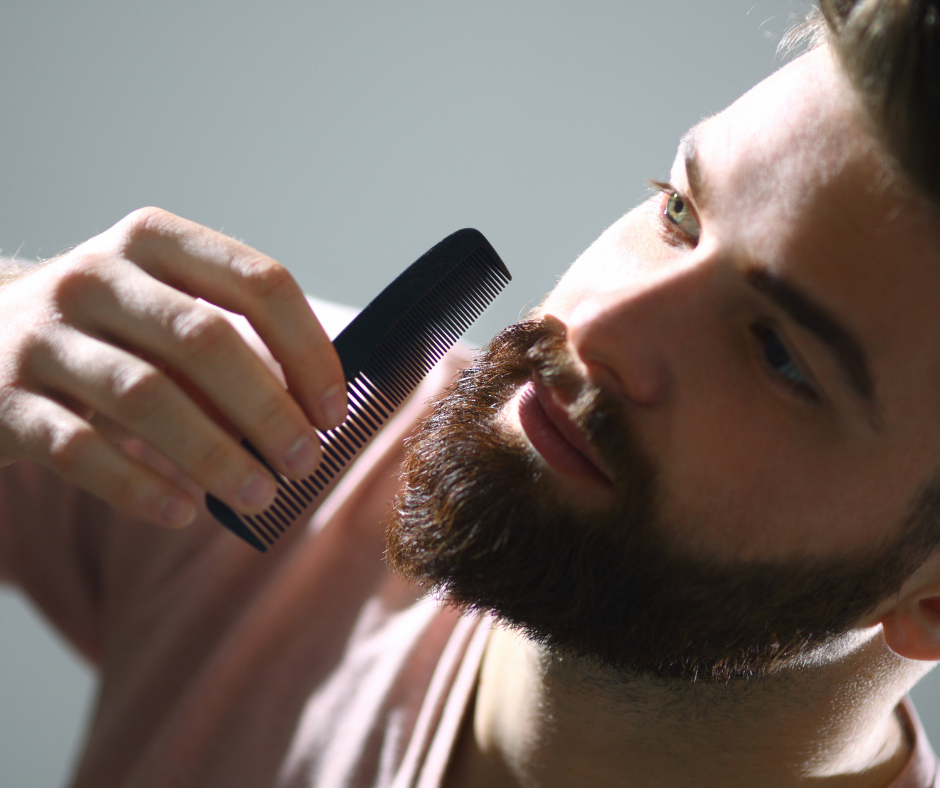
How to Perfectly Sculpt Your Beard at Home
Share
Having a well-groomed beard is a source of pride for many men. It's not just a fashion statement - it can define your style and add character to your appearance. While professional barbers can sculpt beards masterfully, learning to do it yourself at home can be both rewarding and practical. Whether you're a beard grooming aficionado or a newcomer to the world of men's self-care, this guide will help you maintain a polished look from the comfort of your bathroom.
Required Tools for Beard Sculpting at Home
Before you start trimming and shaping, you'll need to ensure that you have the right tools. Here's what you'll need for a successful home beard sculpting session:
- Beard Trimmer: Invest in a high-quality trimmer with adjustable length settings.
- Comb: A fine-toothed comb is essential for detangling and evenly trimming your beard.
- Scissors: Scissors work perfectly for detailed trimming and handling stray hairs.
- Beard Oil: To nourish your beard and skin, making your facial hair more manageable.
Step 1: Wash and Dry Your Beard
Begin with a clean canvas. Wash your beard with a gentle beard shampoo to remove any oil, grime, or leftover food. Pat it dry with a towel. A clean, dry beard will be much easier to trim and style, providing better results.
Step 2: Detangle and Comb Through
Using your comb, gently detangle your beard. Work from the bottom up, starting at the neck and moving towards the cheeks. Combing also helps in identifying uneven lengths and areas that may need more attention during the trim.
Step 3: Start the Trim – Define Your Neckline
Your neckline will serve as the foundation for your beard's shape. Imagine a line that extends from one ear to the other, passing just above the Adam's apple – your "beard neckline." Anything below this line should be neatly trimmed away using your beard trimmer.
Step 4: Set the Beard Length
Decide on your preferred length and set your beard trimmer accordingly. Begin trimming with even strokes, moving against the grain of your beard's growth. For a natural look, gradually decrease the length of the trimmer as you move outward.
Step 5: Sculpt with Detailing
Once your beard is trimmed down to the general shape and length you're aiming for, use scissors to snip away any stray hairs that disrupt the beard's outline or symmetry. Comb through between snips to check your work.
Step 6: Moisturize and Style with Beard Oil
After trimming, your skin and hair might feel a bit rough. It's time to moisturize with some beard oil. This not only gives your beard a glossy, healthy appearance, but also makes it softer and easier to control as you sculpt it into your desired style.
Final Touches – Checking for Symmetry
Take a step back and look at your masterpiece from different angles. Make minor adjustments as needed to ensure your beard is symmetrical and that you have eliminated any uneven patches.
Do's and Don'ts for Beard Grooming at Home
- Do: Take your time. Rushing the sculpting process can result in uneven cuts or removing too much length.
- Don't: Neglect the mustache. Your mustache should blend seamlessly with your beard for an overall balanced look.
- Do: Regularly maintain your beard. Consistency is key to mastering the art of beard grooming.
- Don't: Forget to adjust your trimmer setting as needed for different parts of your beard.
By following these steps and staying patient, you'll find that perfecting the art of beard sculpting at home is entirely within your reach. Remember, practice makes perfect, and each trimming session is an opportunity to refine your technique. Keeping your beard well-groomed not only looks good but reflects attention to personal grooming and self-care. Happy sculpting, gentlemen!


